Before We Got Started
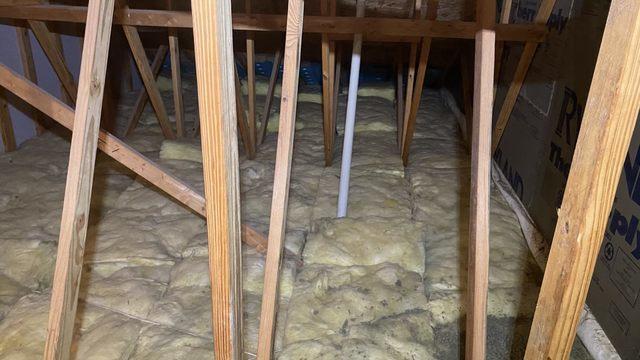
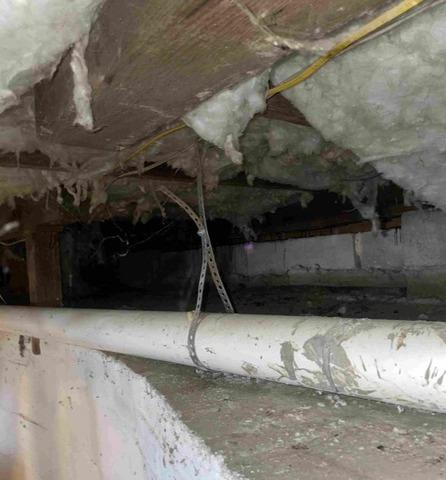
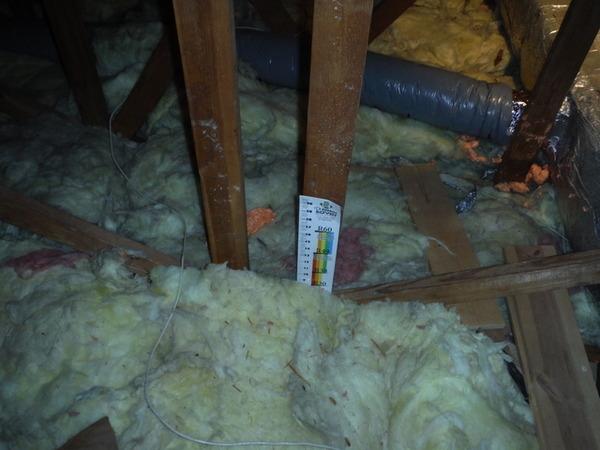
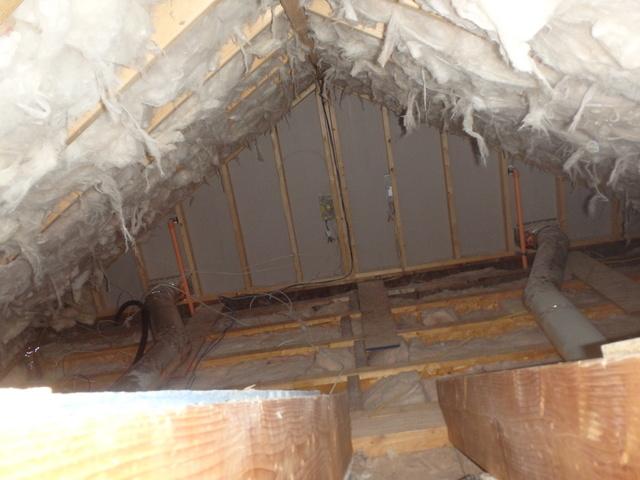
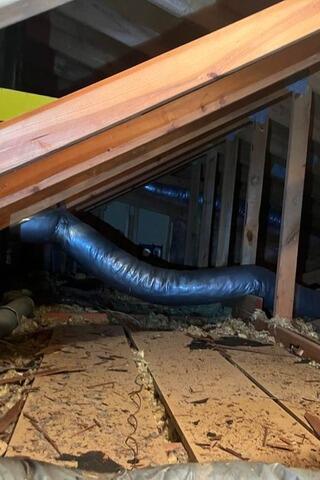
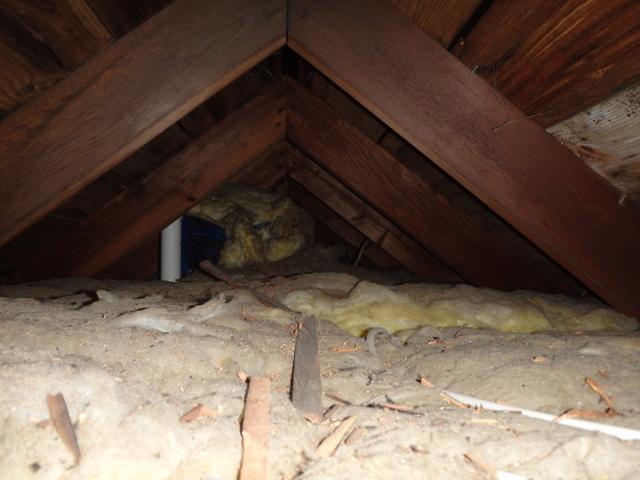
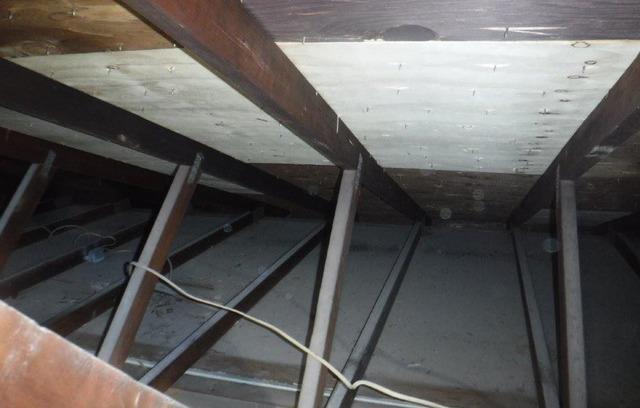
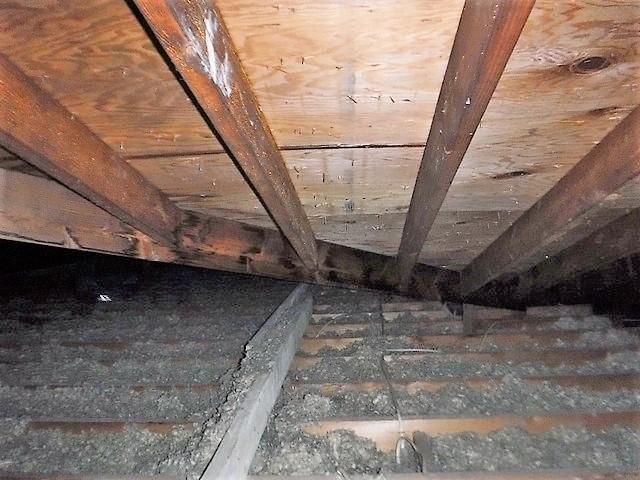
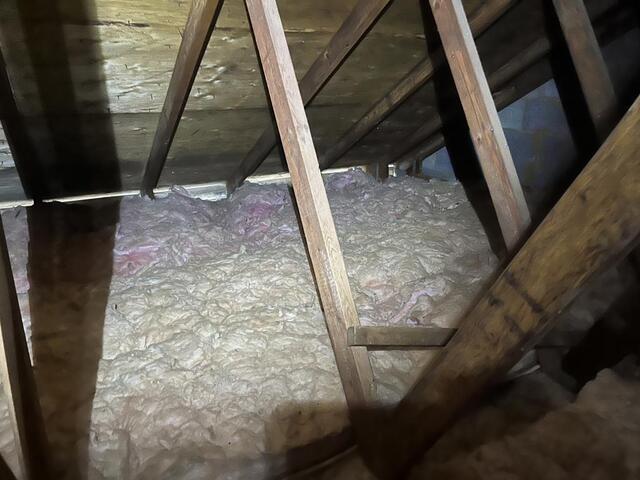
With insulation hanging from the floor joist, a worn and torn vapor barrier, and open vents, this crawl space was in need of some serious upgrades.
Our Work Begins
Our Home Comfort Technicians began by removing all of the old insulation and vapor barrier from the crawl space. They then bolted the edge of the vapor barrier to the crawl space walls. By bolting the vapor barrier to the walls we created a complete barrier that does not allow moisture or pest to enter the crawl space from below.
Laying the Vapor Barrier
Along with its primary function of separating the crawl space from the earth, our CleanSpace vapor barrier creates a clean white floor for your crawl space.
Installing the Dehumidifier
The dehumidifier is a key aspect of the crawl space encapsulation. Once all the outside air and elements are restricted from entering the crawl, the dehumidifier regulates the humidity to a desirable 50-55% humidity
Spray Foam Added to the Walls
Our final step and one of the most important steps is applying spray foam to all the exterior walls and vents. By using spray foam overtop of our foam board in the vents of the crawlspace it restricts any outside air from entering the crawl space and your home. The spray foam also keeps any humidity or cold temperatures from leaking in through the porous cinder blocks which make up the crawl space walls. This crawl space is now an efficient space underneath Carrie's home which will help keep the first floor of her home more comfortable.